When it comes to brides, we all know they want to look perfect. As perfect as they possibly can and makeup is part of this perfection. Most of the brides choose fresh, glowy, romantic makeup on their wedding day, as a symbol of youth and innocence. Subtle smokey eyes can be an amazing choice because it is captivating, sexy, yet soft and fresh. The Smokey Eyes is an essential technique to have in your repertoire. It can be a tricky technique to master and sound simple in principle, but can be pretty elusive in practice. With my simple steps you are guaranteed to achieve the perfect look every time.
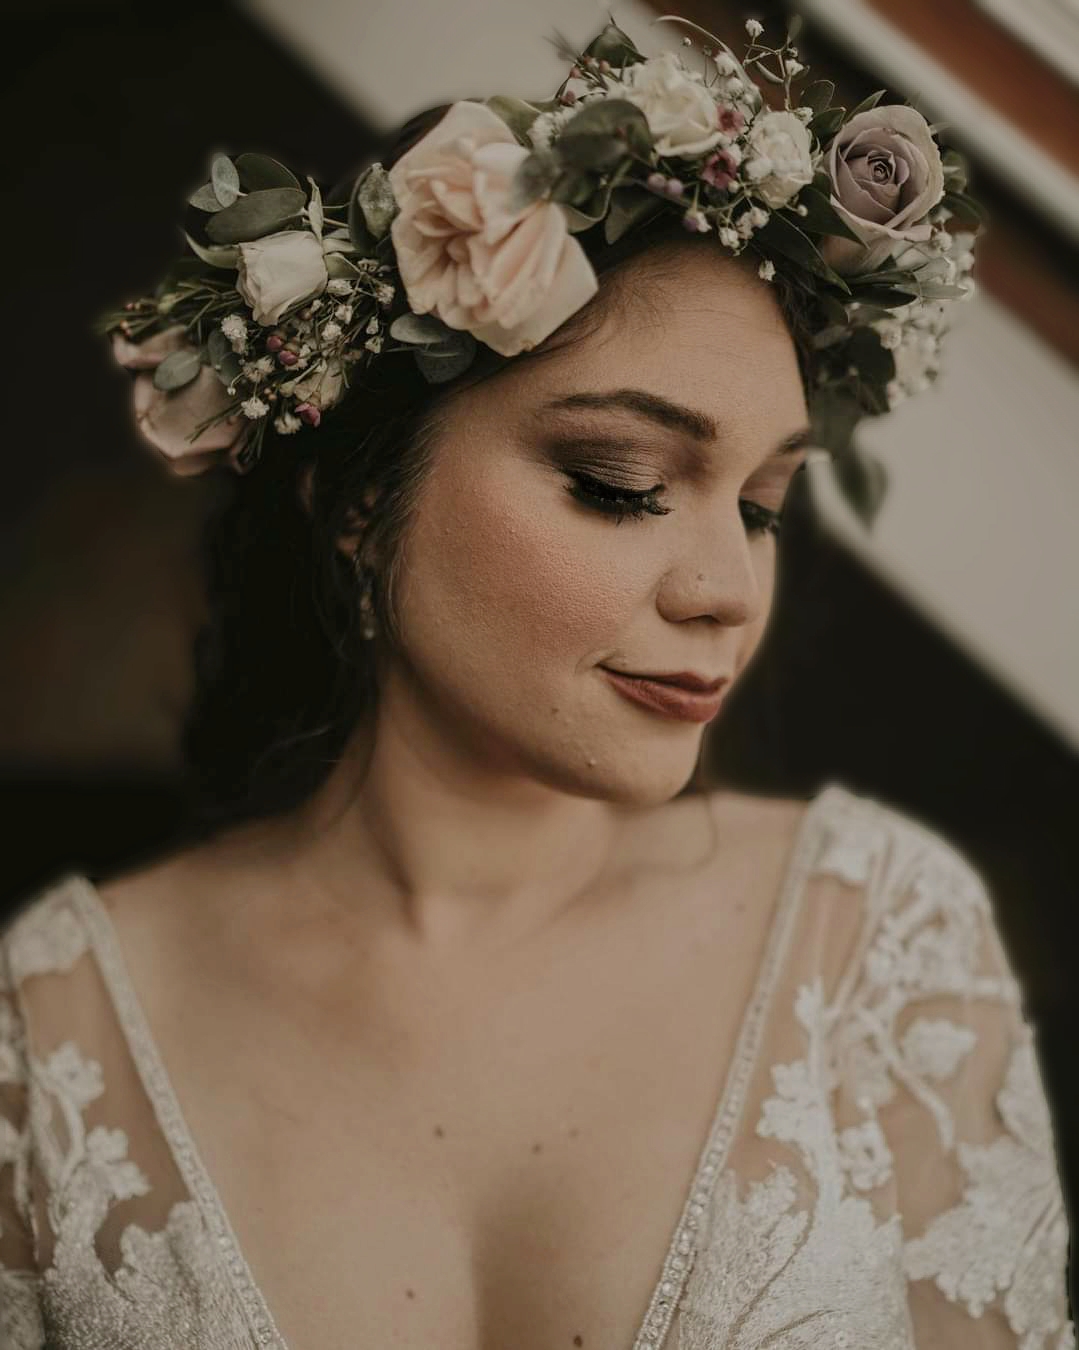
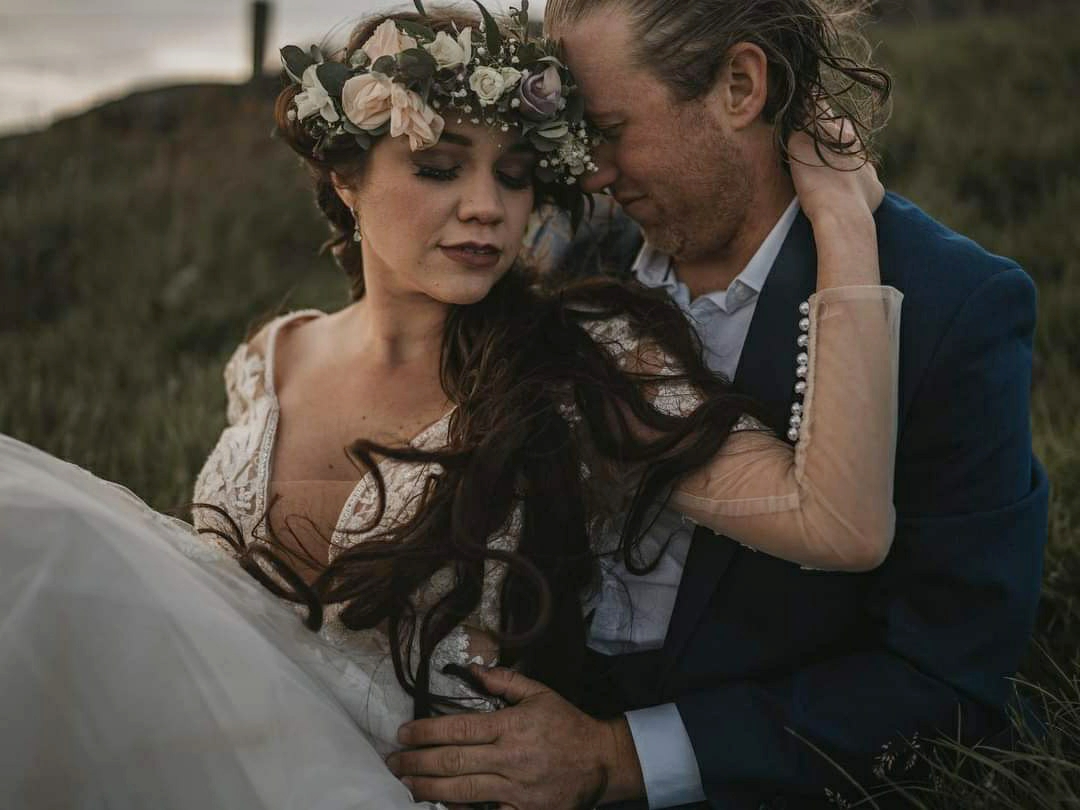
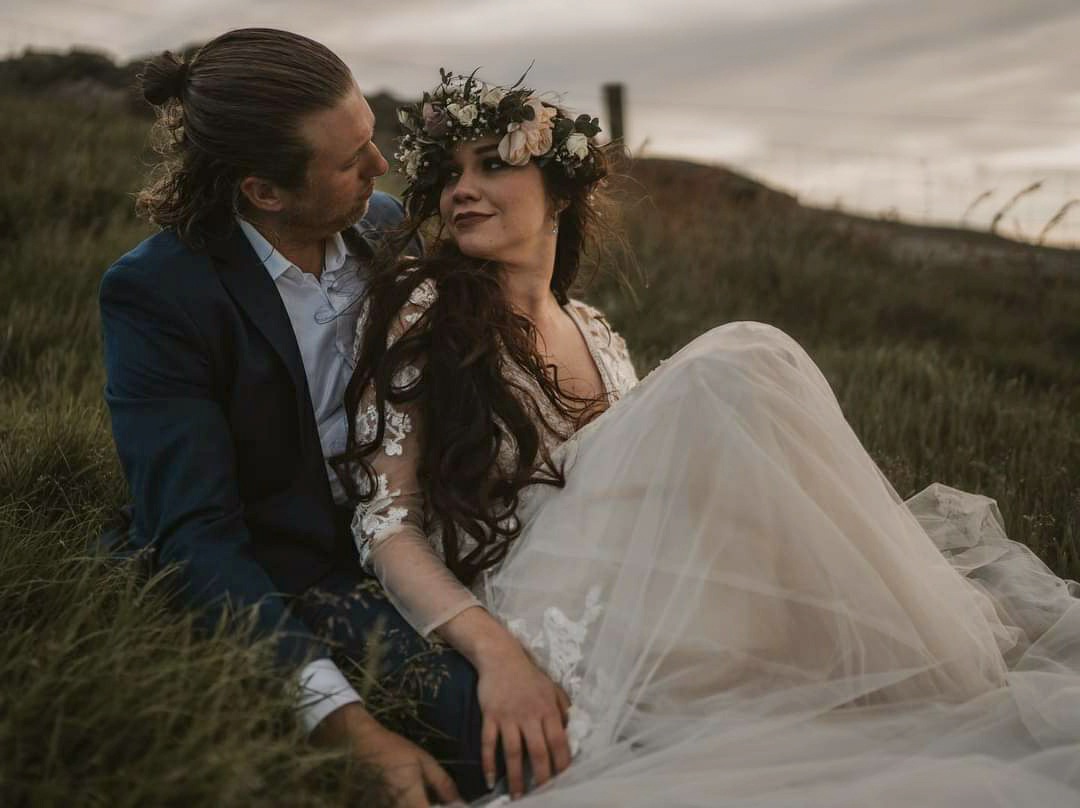
IMAGES OF MY REAL LIFE BRIDE MEL & HUBBY JASON
The most beautiful combo of royal golden eyeshadow and classy black is just an irresistible look.
FIRST DECIDE WHICH STYLE YOU WANT!
* The Classy Smokey Eyes With A Splash Of Sparkle
Slay your bridal look with this extremely gorgeous Smokey eye look with glittery eyeshadow on your grand wedding day.
* The Glamorous Smokey Eye Look
The touch of soft glam with striking smokey eyes and black eye shadow.
* The Sassiest All Black Smokey Eye Makeup Is For The Chic Brides Out There
Try out this dark black smokey eyeshadow with black kohl and leave all of them stunned.
If you’re planning to make your look a little more exciting, why not go all the way? What better way to make an impact by truly committing to the Smokey eye look! This dramatic creation will truly transform any bride into a stunning and irresistible lady.
GATHER THE RIGHT TOOLS
 You’ll need a few tools to master the Smokey eye. Grab three or four small shadow brushes, use a flat brush when you’re applying your eyeshadow, and you’ll get the best powder application,use a soft dome brush to layer your secondary colours over top layer & Large fluffy eyeshadow brush for blending an angled brush, to easily connect your eye pencil guidelines with your liquid liner, and blend. A few cotton swabs (for clean-up). Remember, a smokey eye is all about the complete look, and that includes your lashes so grab your eyelash curler to curl your eyelashes before applying mascara to achieve that extra va-va-voom, Make sure that everything is very clean and that it is good quality. Laying everything out before you start will save you from having to stop and start again! You’re ready to go!
START WITH A CLEAN CANVAS
Before you start on your smoky eye look, be sure to cleanse your eye area thoroughly with an eye makeup remover to eliminate any previous eyeshadow or liner that may still be lingering.
USE A GOOD PRIMER
To even out your lid tone and give you a good base to start your smokey eye look, use a good primer. I love Urban Decay’s Eyeshadow Primer. It’s got a little glimmer to it, and it covers freckles and veins on your lids nicely. Thiswill also ensure that your eye makeup stays on well past the time it is supposed to. So if you do a smokey eye in the daytime, it’ll still be there and perfect looking at night!
USE THE RIGHT COLORS
The most glam smoky eye looks include colours beyond grey and black, colours that make your own eye colour pop. For green eyes, use deep purples and golds, they look absolutely fab! For blue eyes, use navy blues or even some copper colours to really draw out the blue in your eyes. For brown eyes, use pinks and even some purples along with some greys to really draw out the brown. Gorgeous! However, any colours work too, mix and match!
APPLY SHADOW
Now it’s time to shadow. It’s a good idea to apply eye makeup before foundation and concealer when creating extravagant eye makeup looks, like smokey eyes or when using bolder, deeper colours due to the fallout from eyeshadow. Use A trio of shadows that achieve your desired look. This will include a light (flesh tone or lighter) medium, and dark.
Having sultry eyes doesn’t mean you have to make them dark, you can add some shimmer while you’re at it too! Shimmer takes the look of all your hard work and creates a more girly, glamour look by adding some feminine sparkle!
The key to any good eye makeup look is making sure your crease, the area where your eye socket ends, isn’t forgotten. It creates a transition and helps bring out the smokiness. So, using the medium eyeshadow of choice and a fluffy eyeshadow brush, apply it into the crease area by using windscreen wiper motions (back and forth). Blend it up and out to create an eye-lifting effect. With a small packing brush apply the dark eyeshadow shade of choice along the outer part of the eye, blending it into the outer third of the eye. Take the fluffy brush, used before, and blend it together with the crease shade. Highlight a spot in the centre of your lid with a lighter hue of eyeshadow of your choice and pack it lightly along the inside of your eye and blend. Open up the inner corner of the eye with a highlighter shade again of your choice. You can apply these shadows wet and even use your fingers for more intensity For more drama, add the darker shade along your lower lash line, too, with a very light hand.
LAYERING IS KEY
When applying shadow, it’s important to use layers, rather than applying a thick layer all at once. The light layering will provide dimension and depth to your smoky eye look, and won’t look cheap or hurried. Also, adding a bit of white to the corner of your eye can really make you appear more alert and awake!
LINE AWAY
Now, tight line the eyelid with a black kohl pencil . Using a blending brush, blend it along the upper lash line, in a slight upward direction. If you need a stronger smoky eye, I recommends making the eyeliner much thicker, and then blending out, for a bolder evening look, which doesn’t require any extra skills. My favourite part is adding even more drama to dark, sultry eye makeup by adding three layers of mascara, you don’t want to let the layers dry, otherwise they will look very clumpy and you’ll end up with spidery lashes. ADD FALSE LASHES FOR EXTRA SMOKY EYE GLAM
FRAMING THE EYES
Just when you thought you were done… You can’t forget the brows. The brows frame the eyes perfectly. Showing them a little bit of love can make your eyes really pop. And since you spent all that time perfecting the smokey eye, you might as well complete the look. Even grooming them with a clear gel can transform the look, if you need a little more help, opt for a pomade, powder or pencil. To complete the eye look, use concealer on a small brush of your choice to clean up the outer eyeshadow shape. Drag the product from the outer corner of the eye towards the brow. This will leave the eye makeup as clean and sharp as in the picture. The eyes are done!
CLEAN UP
Once you’re done with liner, shadow, and mascara, use the clean cotton swabs to remove any accidental smears or smudges on your face… you’ll be surprised where your shadow ends up! If necessary, dab on a little more concealer.
TRY IT AHEAD OF TIME
Remember to give yourself plenty of practice time before your special event, and that a light hand and careful layering is key! This will allow you to perfect your technique and even choose exactly the right color shadows and liners before you feel pressured for time, right before the big event. Practice makes perfect, after all. You can even add some glitter or go with the matte look, but practicing it beforehand is always the best idea!
Complete your look with makeup, but remember pairing heavy blush, intense lipstick and a pound of bronzer is anything but sultry when you’ve got major eye makeup going on. A smoky eye looks prettiest when it pops out against minimal makeup. Pin down your favourite one and let the diva in you roll.
Much Love,
G, xx